This article explains how to get and install the X-LINUX-QT expansion package v2.1.0, on top of Yocto-based OpenSTLinux embedded software v6.0.0.
1. Article purpose[edit | edit source]
Purpose of this article is to:
- introduce the X-LINUX-QT expansion package[1],
- define the hardware & software deliverables to use the X-LINUX-QT packages,
- describe all steps to integrate the X-LINUX-QT packages and associated expected results,
- give some use case examples enabled by the X-LINUX-QT package,
- explain how to create a Qt™ application using the X-LINUX-QT developer package,
- describe all steps to use Qt™ Creator with the X-LINUX-QT developer package and associated expected results.

2. X-LINUX-QT expansion package description[edit | edit source]
2.1. Overview[edit | edit source]
X-LINUX-QT is an STM32 MPU OpenSTLinux expansion package that targets Qt™6 based application and graphical user interface (GUI) development for STM32MP1 series and STM32MP2 series .
It contains Linux® Qt™ frameworks, as well as an ST Application Launcher based on Qt™ Framework and application examples to get started with Qt™ application development.
The Qt™ framework contains a comprehensive set of highly intuitive and modularized C++ library classes and is loaded with APIs to simplify the application development. Qt™ produces highly readable, easily maintainable and reusable code with high runtime performance and small footprint – and it's cross-platform.
This expansion package is a complete ecosystem that allows developers working with OpenSTLinux to create Qt™ based application very easily.
- All-in-one Qt™ solutions for the STM32MP1 series and STM32MP2 series supporting Wayland and Weston.
- Pre-integrated into Linux® distribution based on ST environment.
- Include Qt™ frameworks to build UIs and Applications.
- Include ST Application Launcher based on Qt™ framework for STM32 MPU devices (see supported platforms list).
2.2. Main restrictions[edit | edit source]
X-LINUX-QT expansion package v2.1.0 does not support any more Qt™ 5, only Qt™6 is supported.
2.3. Versioning[edit | edit source]
Latest version of X-LINUX-QT is 2.1.0. The X-LINUX-QT expansion package is based to be used with Yocto-based OpenSTLinux embedded software v6.0.0.
The generic versioning X-LINUX-QT vx.y.z is built as follows:
- x: major version depending on Qt™ major versions. Each new major version is incompatible with previous Qt™ versions. Initial major version 1.0.0 is for Qt™ 5 and next versions 2.y.z are for Qt™ 6
- y: minor version depending on the OpenSTLinux distribution major versions. Each new major version is incompatible with previous OpenSTLinux distribution versions. Initial minor version will be for OpenSTLinux Distribution v5.x
- z: patch version is changed when new functionalities, bug fixes and/or modules are added to the X-LINUX-QT expansion package in a backward compatible manner.
3. Associated licenses[edit | edit source]
Associated licenses are available in the wiki article X-LINUX-QT_licenses.
4. Prerequisites[edit | edit source]
4.1. Hardware prerequisites[edit | edit source]
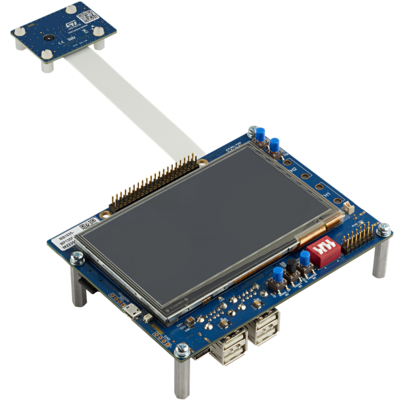
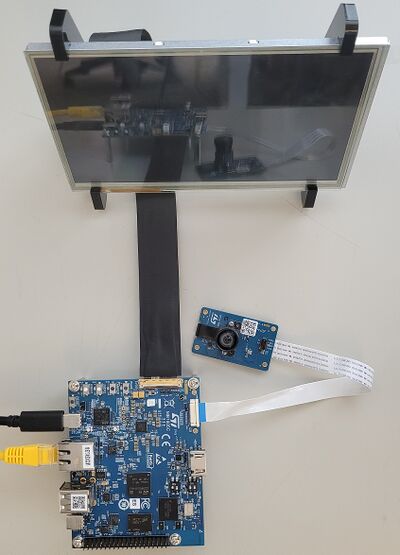
Select your board among the ones available in Category:STM32_MPU_boards. The associated hardware description article describes explains how to assemble the boards, set the right power jumper configuration, connect the display to the board, and connect the board to your development environment.
Your ST board should be assembled with at least the display.
- STM32MP135F-DK Discovery kit

- STM32MP157x-DKx Discovery kit

- STM32MP157x-EV1 Evaluation board
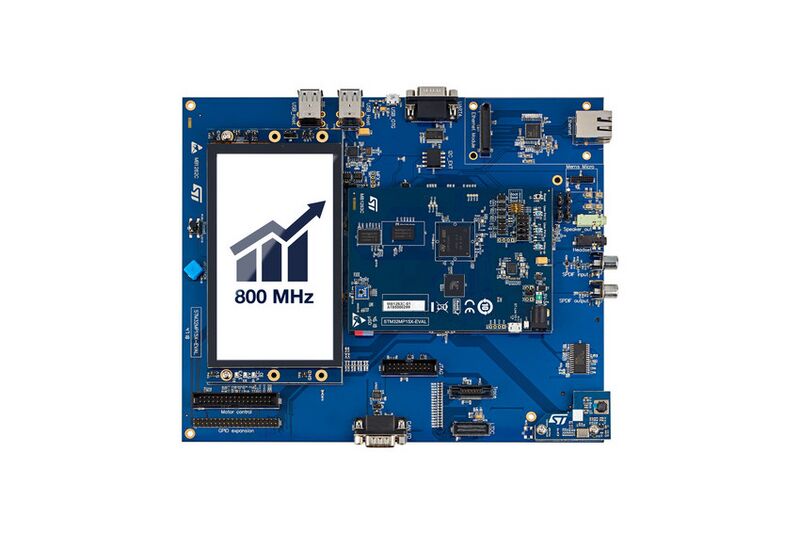
- STM32MP257F-DK Discovery kit
- STM32MP257F-EV1 Evaluation board

4.2. Software prerequisites[edit | edit source]
The X-LINUX-QT expansion package v2.1.0 runs with Yocto-based OpenSTLinux embedded software v6.0.0.
The X-LINUX-QT expansion package can be used in standalone or with the Qt™ Creator[2] tool.
The Qt™ Creator[2] tool can be used to build, debug and run applications demos on target. If you want to use it, you need to make following prerequisites:
- A Qt™ account is necessary to download then install the Qt™ Creator.
- The Qt™ online installer is available from here.
5. X-LINUX-QT package software installation[edit | edit source]
There are three possibilities to install the X-LINUX-QT expansion package on top of OpenSTLinux.
Select the one corresponding to your needs among:
- X-LINUX-QT Starter Package: quickly and easily bring Qt™ framework on STM32 MPU as graphics solution. This package contains some ST examples of Qt™ applications.
- X-LINUX-QT Developer Package: quickly and easily bring and develop with Qt™ framework on STM32 MPU as graphics solution. Thanks to this package, you can create your own Qt™ applications.
- X-LINUX-QT Distribution Package: an OpenEmbedded meta-layer can be added on top of the STM32MPU distribution package to bring "Qt™ framework" as graphics solution. This package can be used to create a our own starter and developer packages.
6. References[edit | edit source]