1. Install from the OpenSTLinux AI package repository
All the generated X-LINUX-AI packages are available from the OpenSTLinux AI package repository service hosted at the non-browsable URL http://extra.packages.openstlinux.st.com/AI.
This repository contains AI packages that can be simply installed using apt-* utilities, which the same as those used on a Debian system:
- the main group contains the selection of AI packages whose installation is automatically tested by STMicroelectronics
- the updates group is reserved for future uses such as package revision update.
You can install them individually or by package group.
1.1. Prerequisites
- Flash the Starter Package on your SDCard
- For OpenSTLinux ecosystem release v5.0.0
 :
:
- For OpenSTLinux ecosystem release v5.0.0
- Your board has an internet connection either through the network cable or through a WiFi connection.
1.2. Configure the AI OpenSTLinux package repository
Once the board is booted, execute the following command in the console in order to configure the AI OpenSTLinux package repository:
For ecosystem release v5.0.0:
- Move to the apt archives directory :
cd /var/cache/apt/archives
- Retrieve the specific package apt-openstlinux-ai_1.0_armhf.deb:
wget http://extra.packages.openstlinux.st.com/AI/5.0/pool/config/a/apt-openstlinux-ai/apt-openstlinux-ai_1.0_armhf.deb
- Install this package:
apt-get install ./apt-openstlinux-ai_1.0_armhf.deb
- Then synchronize the AI OpenSTLinux package repository.
apt-get update
1.3. Install AI packages
1.3.1. Install all X-LINUX-AI packages
| Command | Description |
|---|---|
apt-get install packagegroup-x-linux-ai
|
Install all the X-LINUX-AI packages (TensorFlow™ Lite, Edge TPU™, application samples and tools) |
1.3.3. Install individual packages
2. How to use the X-LINUX-AI Expansion Package
2.1. Material needed
To use the X-LINUX-AI OpenSTLinux Expansion Package, choose one of the following materials:
- STM32MP157F-DK2 Discovery kit
 + an UVC USB WebCam
 - STM32MP157F-EV1 Evaluation board
 with the built in camera module : MB1379 (OmniVision OV5640 parallel camera)
 - STM32MP135F-DK Discovery kit
 with the built in camera module : MB1897 (GalaxyCore 2145 parallel camera)
Optional:
- Coral USB Edge TPU™[1] accelerator
2.2. Boot the OpenSTlinux Starter Package
At the end of the boot sequence, the demo launcher application appears on the screen.
2.3. Install the X-LINUX-AI
After having configured the AI OpenSTLinux package you can install the X-LINUX-AI components.
apt-get install packagegroup-x-linux-ai
And restart the demo launcher:
systemctl restart weston-graphical-session.service
Check that X-LINUX-AI is properly installed:
 x-linux-ai -v
X-LINUX-AI version: v5.0.0
2.4. Launch an AI application sample
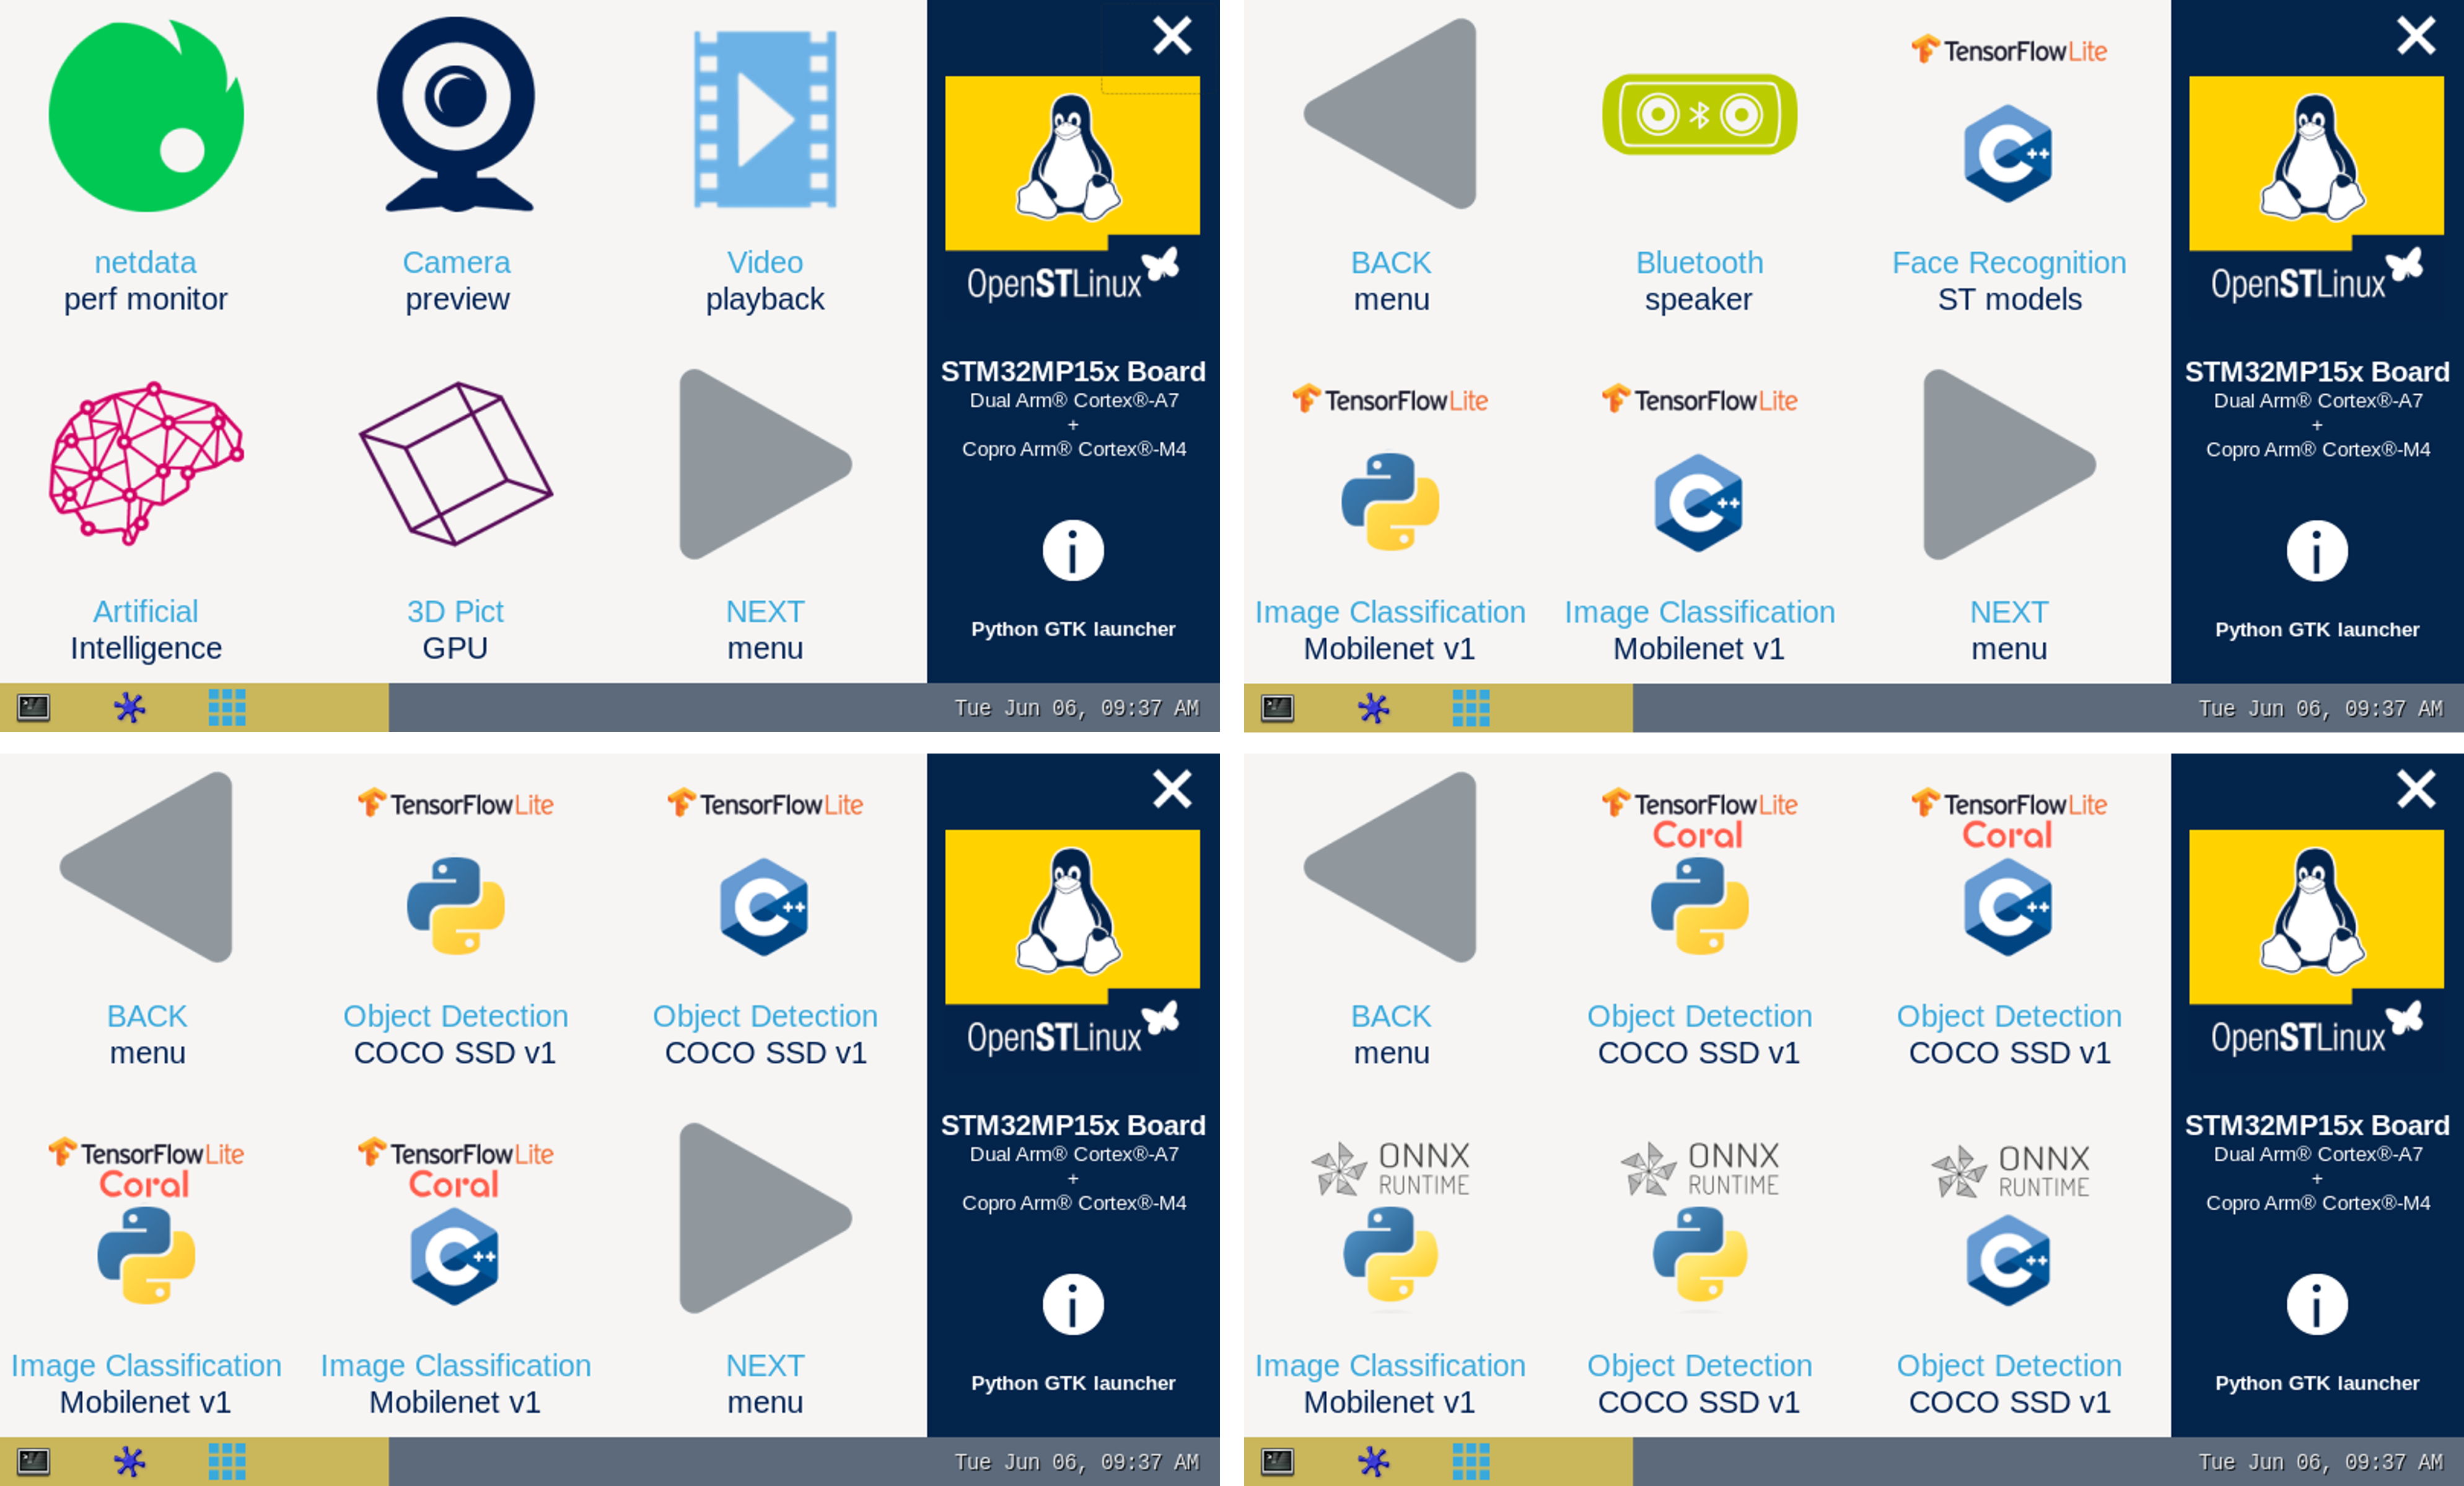
Once the demo launcher is restarted, notice that it is slightly different because new AI application samples have been installed.
The demo launcher has the following appearance, and you can navigate into the different screens by using the NEXT or BACK buttons.

The demo launcher now contain AI application samples that are described within dedicated article available in the X-LINUX-AI application samples zoo page.
2.5. Enjoy running your own NN models
The above examples provide application samples to demonstrate how to execute models easily on the STM32MP1.
You are free to update the C/C++ application or Python scripts for your own purposes, using your own NN models.
Source code locations are provided in application sample pages.
2.6. References