This article explains how to use the X-LINUX-QT developer package to build Qt applications for the STM32 microprocessor series. It has been written for STM32MP2 series but it can be adapted easily to STM32MP1 series.
1. Prerequisites[edit | edit source]
Check first, detailed prerequisites in X-LINUX-QT_expansion_package#Prerequisites and X-LINUX-QT Developer Package#Prerequisites.
The Qt™ Creator[1] tool is used to build, debug and run applications demos on target.
The X-LINUX-QT developer package is up and running on your board. For that, follow information provided in X-LINUX-QT Developer Package article.
2. Install the Qt Creator[edit | edit source]
- The Qt™ Creator can be downloaded and installed following this link.
- The Qt™ online installer can be downloaded following this link.
- Installing the X-LINUX-QT developer package configures also the new STM32MPU Kit for the already installed Qt™ Creator IDE.
3. Select the new kit installed by the X-LINUX-QT developer package[edit | edit source]
| Qt6 6.6.3 must be installed in order to have the list of examples for that Qt version. |
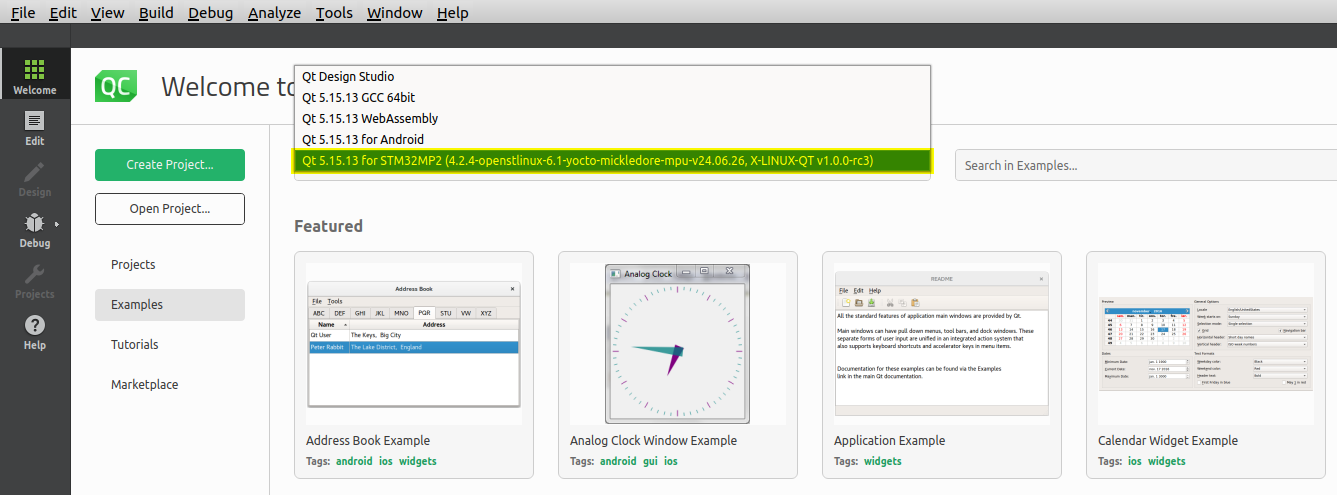
Once the Qt™ Creator is launched and the Welcome to Qt™ Creator is displayed:
- Go to the
Examplesfrom the list on the left, - Then select the new Qt6 6.6.3 from the dropdown list.
The supported examples are then displayed.
4. Select the project example[edit | edit source]
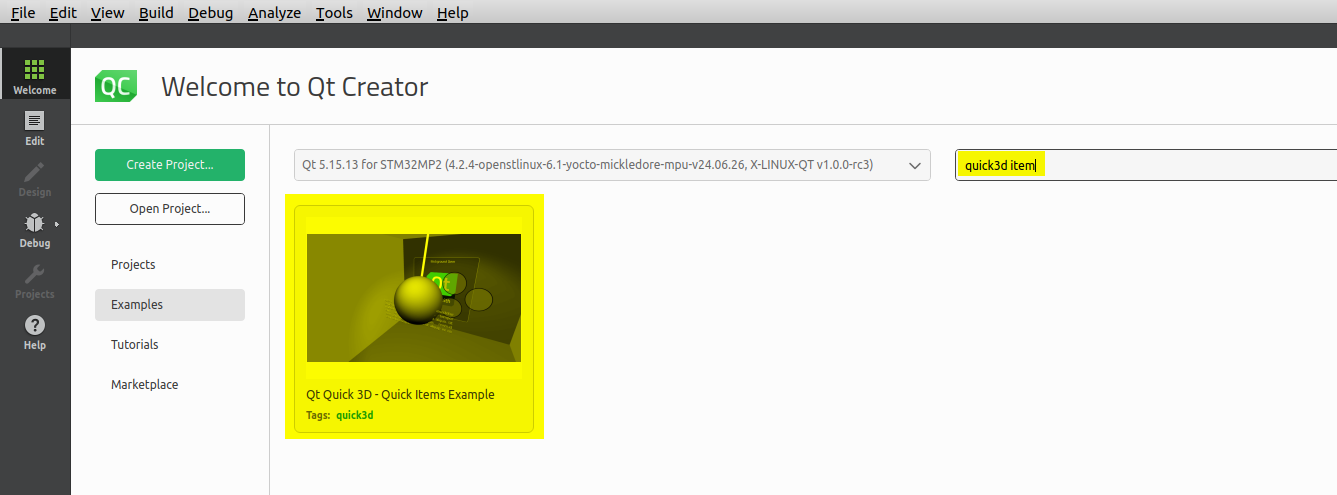
- Search for a specific example in the
Search barin front of the selected kit. - Select the example you are looking for (just a simple click on it).
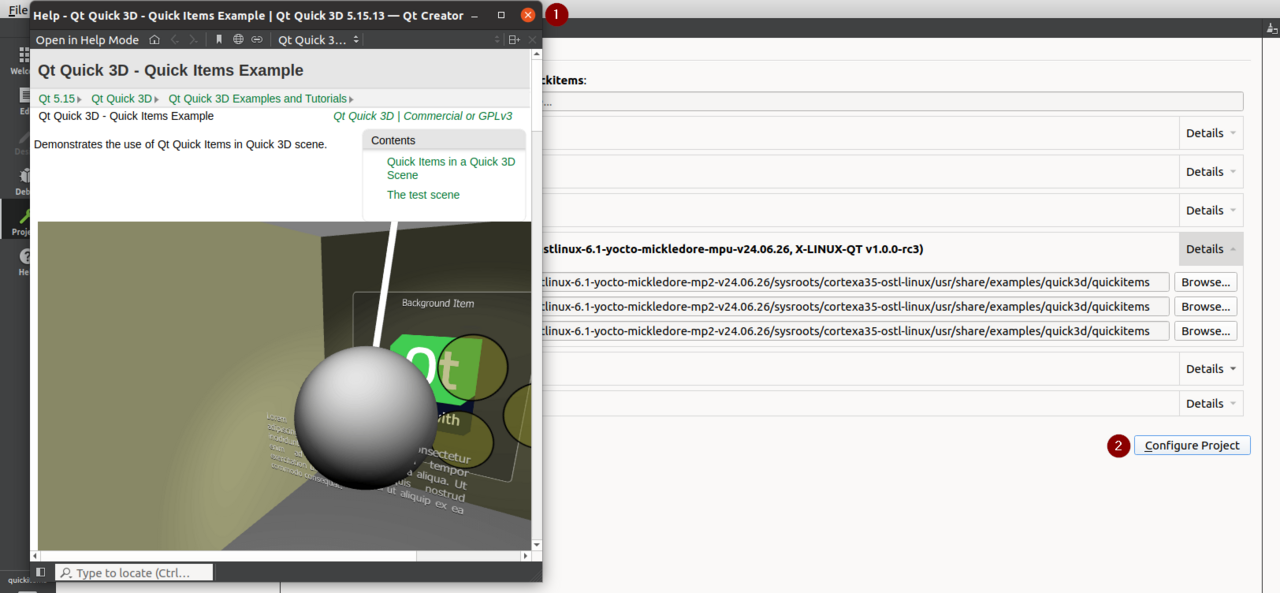
- Close the "Help window" if not needed.
5. Configure the project example[edit | edit source]
- Make sure that the new kit added by X-LINUX-QT developer package is selected
- Press the
Configure Projectbutton:
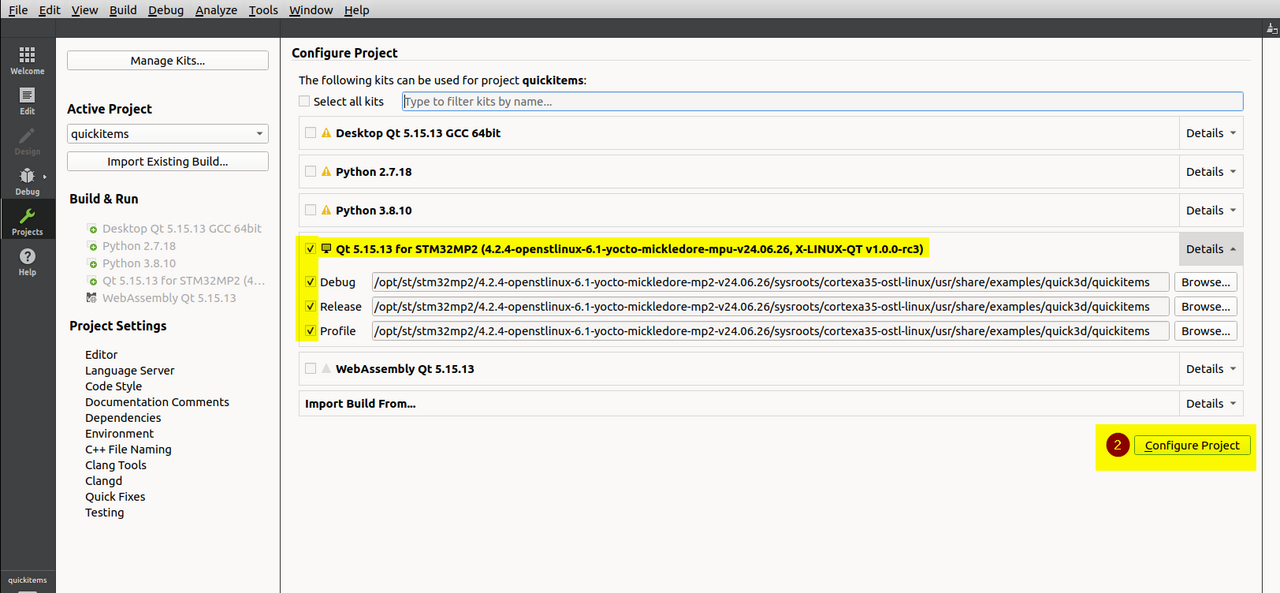
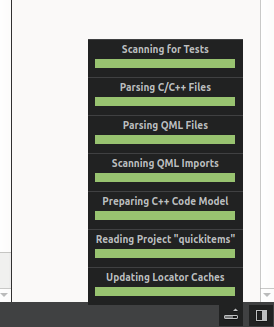
- Make sure all configuration steps are successfully done (green bars):
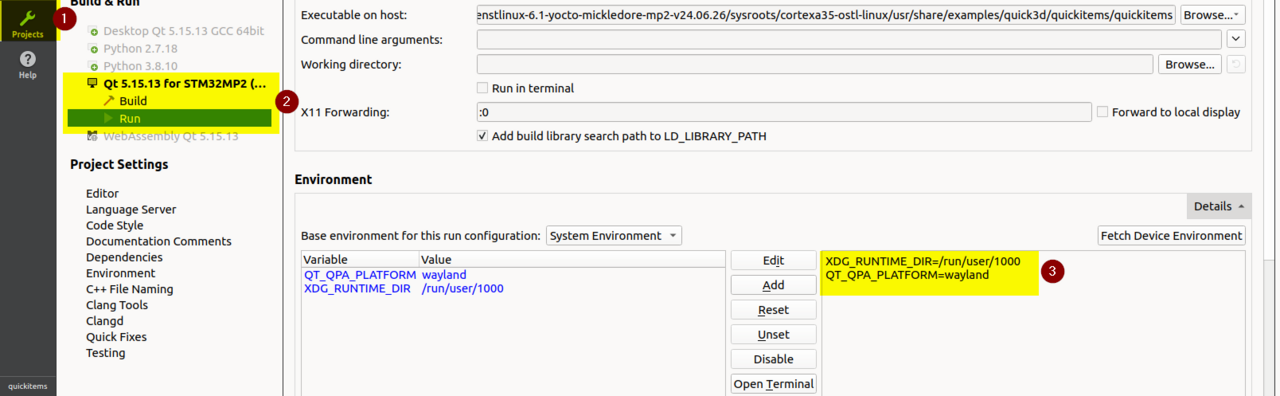
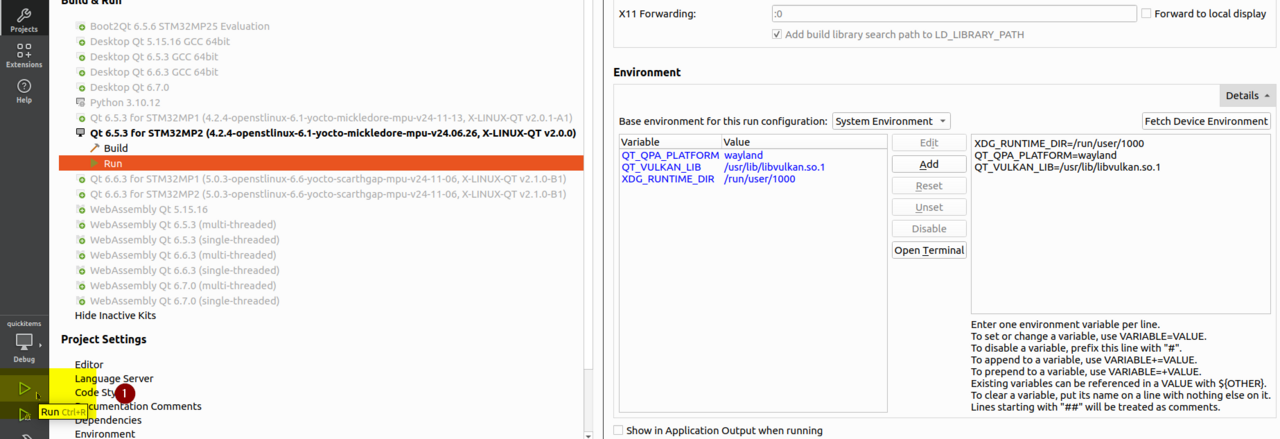
6. Configure the STM32 MPU Kit[edit | edit source]
- Select the
Configure Projectbutton from the vertical bar on the left. - Select the new Kit added by the X-LINUX-QT developer package.
- Select
Run Settings. - On the right panel, scroll down till the
Environmentsection. - Press the
Detailsbutton. - Add the below environment variables:
XDG_RUNTIME_DIR=/run/user/1000
QT_QPA_PLATFORM=wayland
QT_VULKAN_LIB=/usr/lib/libvulkan.so.1
7. Build and run the project[edit | edit source]
- Make sure that the board is connected to the host machine via the USB DRD TypeC connector. for that, follow the instructions from the X-LINUX-QT expansion package#Hardware prerequisites section and check how to get your board connected to the host machine.
- Once in the
Run Settingpanel, the notice below should not appear at the bottom of the screen.

- Press the
Runbutton from the vertical bar on the left to build, deploy and run the selected example on the connected board.
- If everything went well, then the example will be running on the connected board.
