Before reading this article, it is highly recommended to read STM32CubeMonitor:Introduction and main principles of STM32CubeMonitor, to better understand the STM32CubeMonitor concepts.
The basic flow is the flow available when starting STM32CubeMonitor. The general purpose of this basic flow is to start and stop an acquisition and render it in a chart.
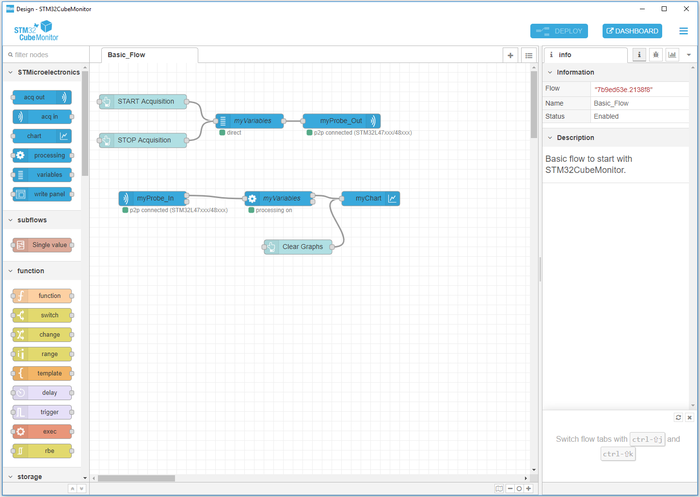
The basic flow available in the design mode is the following:
The nodes myVariables, myProbeOut and myProbeIn must be configured to perform an acquisition.
The node myVariables configuration is explained in STM32CubeMonitor:How to add a variable to monitor article.
The nodes myProbeOut and myProbeIn configuration are explained in STM32CubeMonitor:How to select the target article.
As soon as START acquisition button is clicked, the configuration of myVariables is sent to myProbeOut to configure the probe and launch the acquisition. The acquisition data are received through the myProbeIn and are delivered to the processing node myVariables. The processing node filters the data coming from the myProbeIn for its specific linked variable node (myVariables in this example) and transforms each input message representing one measurement of a group of variables into one message every 50 ms per variable containing one or several duplets (x and y). Then these messages are received by the node myChart and rendered in the dashboard part.
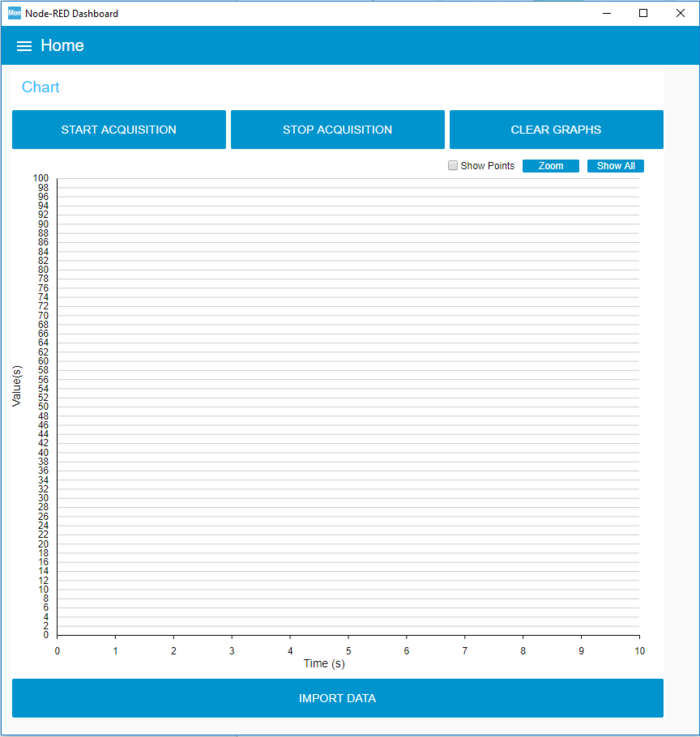
The rendering of the basic flow in the dashboard view before an acquisition is the following:
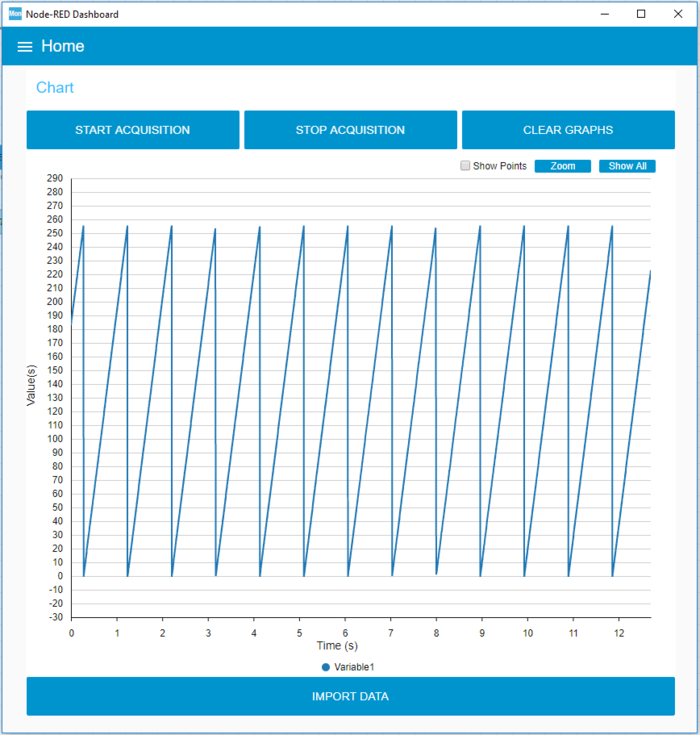
The rendering of the basic flow in the dashboard view after acquisition of one variable is the following:
To go further and use additional features for the dashboard, please read STM32CubeMonitor:Advanced_flow_to_understand_the_possibilities_of_the_tool.


