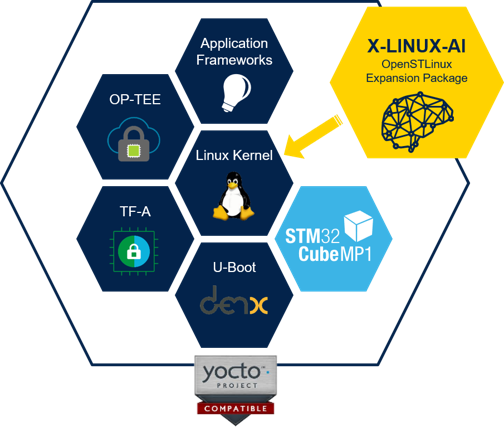
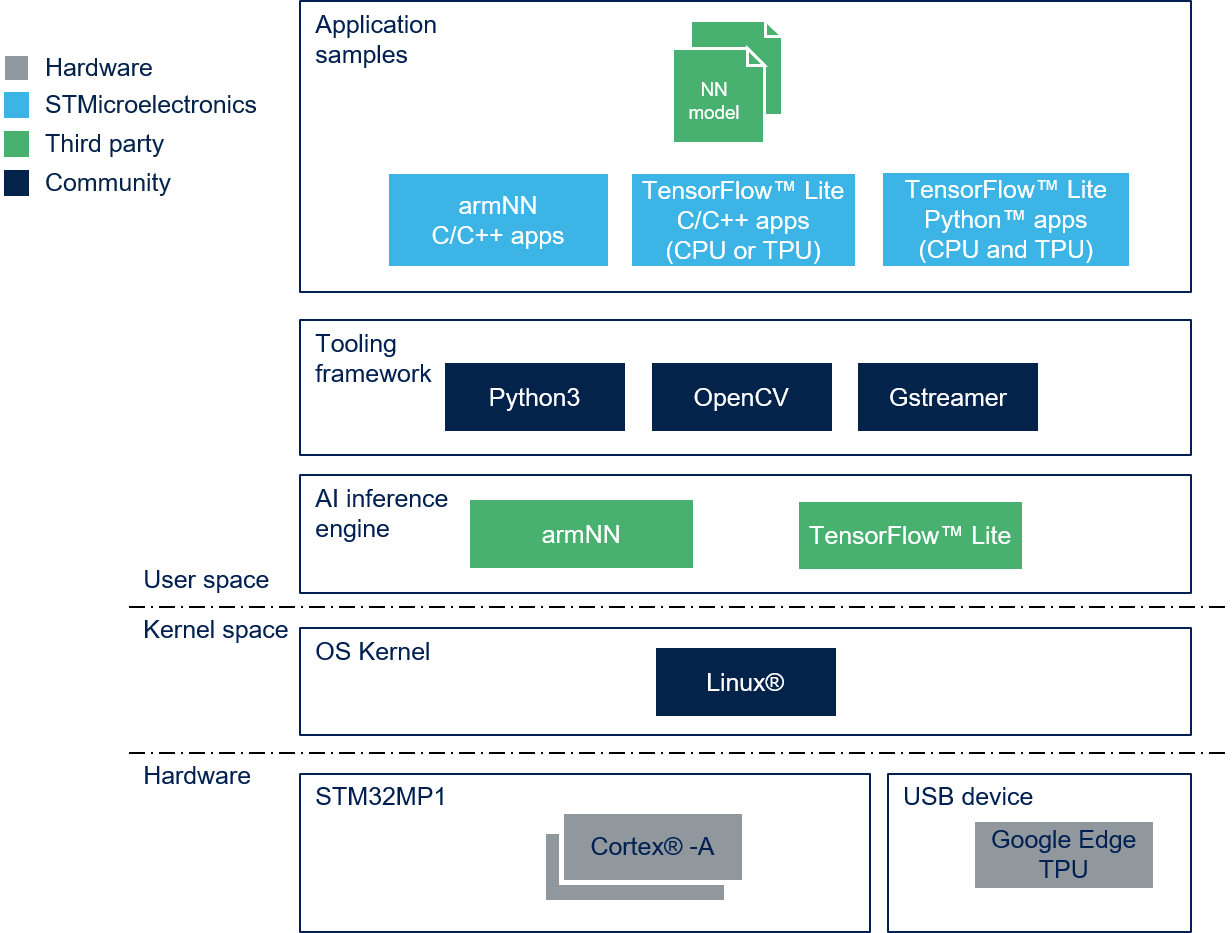
X-LINUX-AI is an STM32 MPU OpenSTLinux Expansion Package that targets artificial intelligence for STM32MP1 Series devices. It contains Linux AI frameworks, as well as application examples to get started with some basic use cases such as computer vision (CV). It is composed of an OpenEmbedded meta layer, named meta-st-stm32mpu-ai, to be added on top of the STM32MP1 Distribution Package. It brings a complete and coherent easy-to-build / install environment to take advantage of AI on STM32MP1 Series devices.
1. Versions
1.1. X-LINUX-AI v2.1.1
1.1.1. Contents
 TensorFlow Lite[1] 2.5.0
- Coral Edge TPU[2] accelerator support
 libedgetpu 2.5.0 aligned with TensorFlow Lite 2.5.0 (built from master branch source code)
 armNN[3] 21.05
- OpenCV[4] 4.1.x
- Python[5] 3.8.x (enabling Pillow module)
- Support STM32MP15xF[6] devices operating at up to 800MHz
- Application samples
- C++ / Python image classification using TensorFlow Lite based on MobileNet v1 quantized model
- C++ / Python object detection using TensorFlow Lite based on COCO SSD MobileNet v1 quantized model
- C++ / Python image classification using Coral Edge TPU based on MobileNet v1 quantized model and compiled for the Coral Edge TPU
- C++ / Python object detection using Coral Edge TPU based on COCO SSD MobileNet v1 quantized model and compiled for the Coral Edge TPU
- C++ image classification using armNN TensorFlow Lite parser based on MobileNet v1 float model
- C++ object detection using armNN TensorFlow Lite parser based on COCO SSD MobileNet v1 quantized model
- C++ face recognition using TensorFlow Lite models capable of recognizing the face of a known (enrolled) user (available on demand)
 Application support the 720p, 480p and 272p display configurations
 Application user interface with updated look and feel
1.1.2. Validated hardware
As any software expansion package, the X-LINUX-AI is supported on all STM32MP1 Series and it has been validated on the following boards:
1.1.3. Software structure
1.2. X-LINUX-AI v2.1.0
X-LINUX-AI v2.1.0 description.
1.3. X-LINUX-AI v2.0.0
X-LINUX-AI v2.0.0 description.
2. Install from the OpenSTLinux AI package repository
All the generated X-LINUX-AI packages are available from the OpenSTLinux AI package repository service hosted at the non-browsable URL http://extra.packages.openstlinux.st.com/AI.
This repository contains AI packages that can be simply installed using apt-* utilities, which the same as those used on a Debian system:
- the main group contains the selection of AI packages whose installation is automatically tested by STMicroelectronics
- the updates group is reserved for future uses such as package revision update.
You can install them individually or by package group.
2.1. Prerequisites
- Flash the Starter Package on your SDCard
- For OpenSTLinux ecosystem release v3.1.0
 and ecosystem release v3.0.0
  :
:
- For OpenSTLinux ecosystem release v3.1.0
- For OpenSTLinux ecosystem release v2.1.0 :
- Your board has an internet connection either through the network cable or through a WiFi connection.
2.2. Configure the AI OpenSTLinux package repository
Once the board is booted, execute the following command in the console in order to configure the AI OpenSTLinux package repository:
For ecosystem release v3.1.0: wget http://extra.packages.openstlinux.st.com/AI/3.1/pool/config/a/apt-openstlinux-ai/apt-openstlinux-ai_1.0_armhf.deb dpkg -i apt-openstlinux-ai_1.0_armhf.deb
For ecosystem release v3.0.0:Expand
For ecosystem release v2.1.0 :Expand
Then synchronize the AI OpenSTLinux package repository.
apt-get update
2.3. Install AI packages
2.3.1. Install all X-LINUX-AI packages
| Command | Description |
|---|---|
apt-get install packagegroup-x-linux-ai
|
Install all the X-LINUX-AI packages (TensorFlow Lite, Edge TPU, armNN, application samples and tools) |
2.3.3. Install individual packages
3. Re-generate X-LINUX-AI OpenSTLinux distribution
With the following procedure, you can re-generate the complete distribution enabling the X-LINUX-AI expansion package.
This procedure is mandatory if you want to update frameworks by yourself, or if you want to modify the application samples.
3.1. Download the STM32MP1 Distribution Package
For ecosystem release v3.1.0 ![]() :
:
Install the STM32MP1 Distribution Package v3.1.0, but do not initialize the OpenEmbedded environment (do not source the envsetup.sh).
For ecosystem release v3.0.0 ![]() :
:
For ecosystem release v2.1.0 :
3.2. Install X-LINUX-AI environment
- Clone the meta-st-stm32mpu-ai git repositories
For X-LINUX-AI v2.1.1: cd <Distribution Package installation directory>/layers/meta-st git clone https://github.com/STMicroelectronics/meta-st-stm32mpu-ai.git -b v2.1.1 For X-LINUX-AI v2.1.0:Expand
- Set up the build environment
 cd ../..
 DISTRO=openstlinux-weston MACHINE=stm32mp1 BSP_DEPENDENCY='layers/meta-st/meta-st-stm32mpu-ai' source layers/meta-st/scripts/envsetup.sh
3.3. Build the image
bitbake st-image-ai
3.4. Flash the built image
Follow this link to see how to flash the built image.
4. How to use the X-LINUX-AI Expansion Package
4.1. Material needed
To use the X-LINUX-AI OpenSTLinux Expansion Package, choose one of the following materials:
- STM32MP157C-DK2[7] + an UVC USB WebCam
- STM32MP157C-EV1[8] with the built in OV5640 parallel camera
- STM32MP157A-EV1[9] with the built in OV5640 parallel camera
Optional:
- Coral USB Edge TPU[2] accelerator
4.2. Boot the OpenSTlinux Starter Package
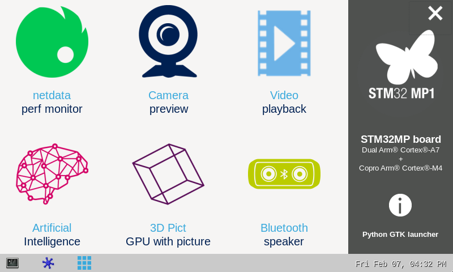
At the end of the boot sequence, the demo launcher application appears on the screen.
4.3. Install the X-LINUX-AI
After having configured the AI OpenSTLinux package you can install the X-LINUX-AI components.
apt-get install packagegroup-x-linux-ai
And restart the demo launcher
systemctl restart weston@root
4.4. Launch an AI application sample
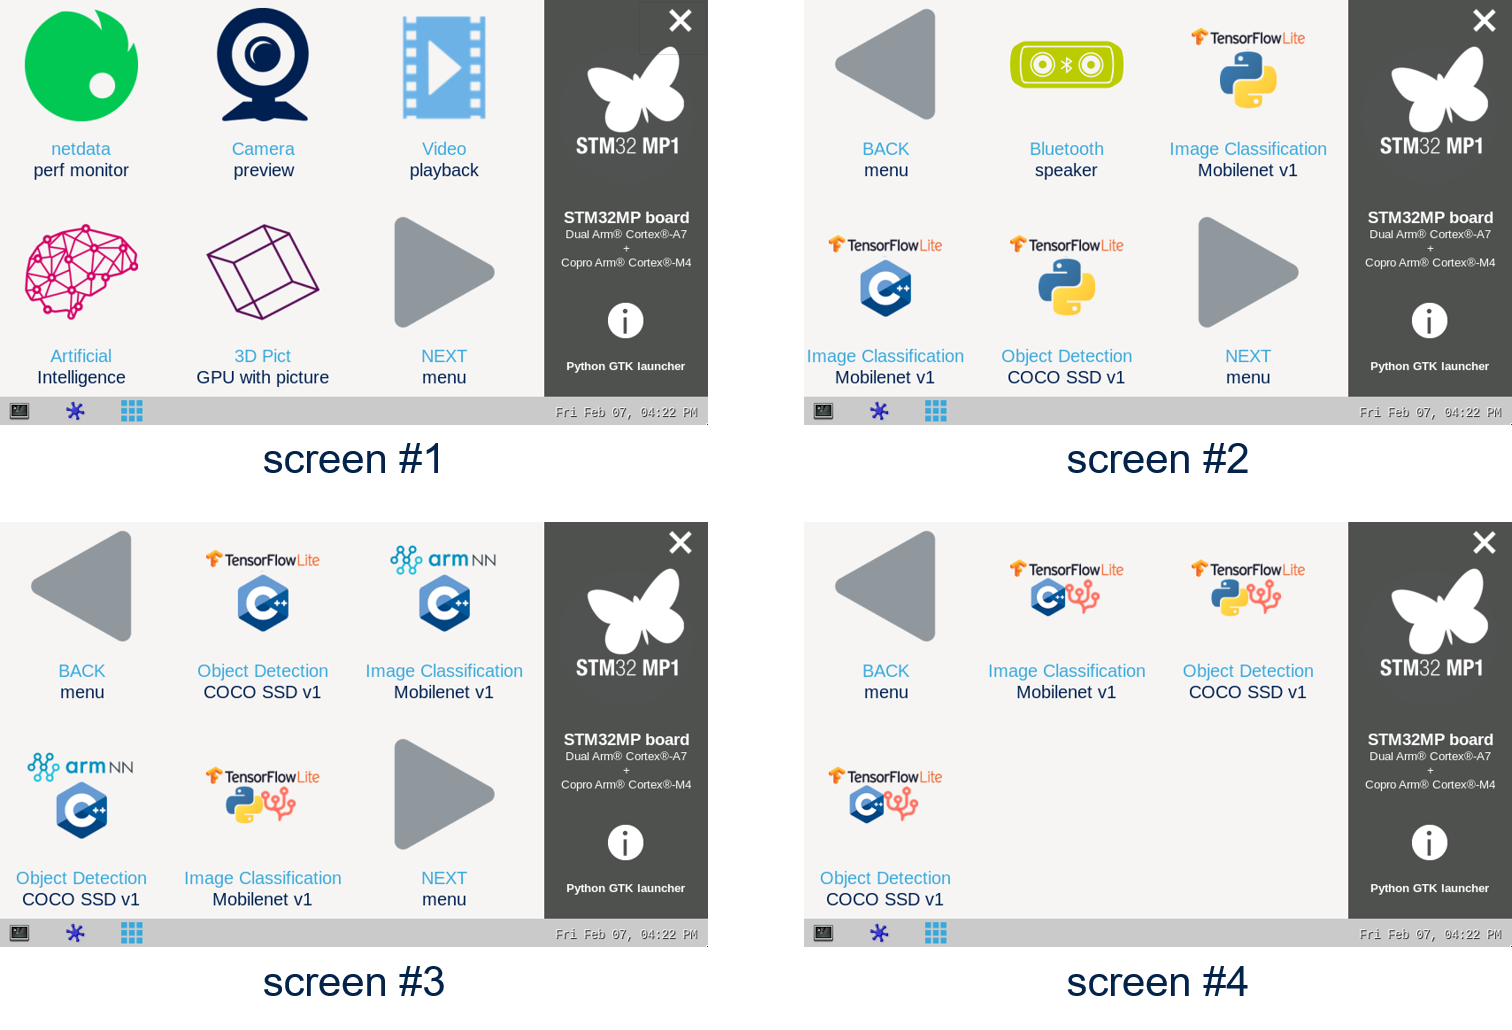
Once the demo launcher is restarted, notice that it is slightly different because new AI application samples have been installed.
The demo laucher has the following appearance, and you can navigate into the different screens by using the NEXT or BACK buttons.
Screens 2, 3 and 4 contain AI application samples that are described within dedicated article available in the X-LINUX-AI application samples zoo page.
4.5. Enjoy running your own NN models
The above examples provide application samples to demonstrate how to execute models easily on the STM32MP1.
You are free to update the C/C++ application or Python scripts for your own purposes, using your own NN models.
Source code locations are provided in application sample pages.
5. References


