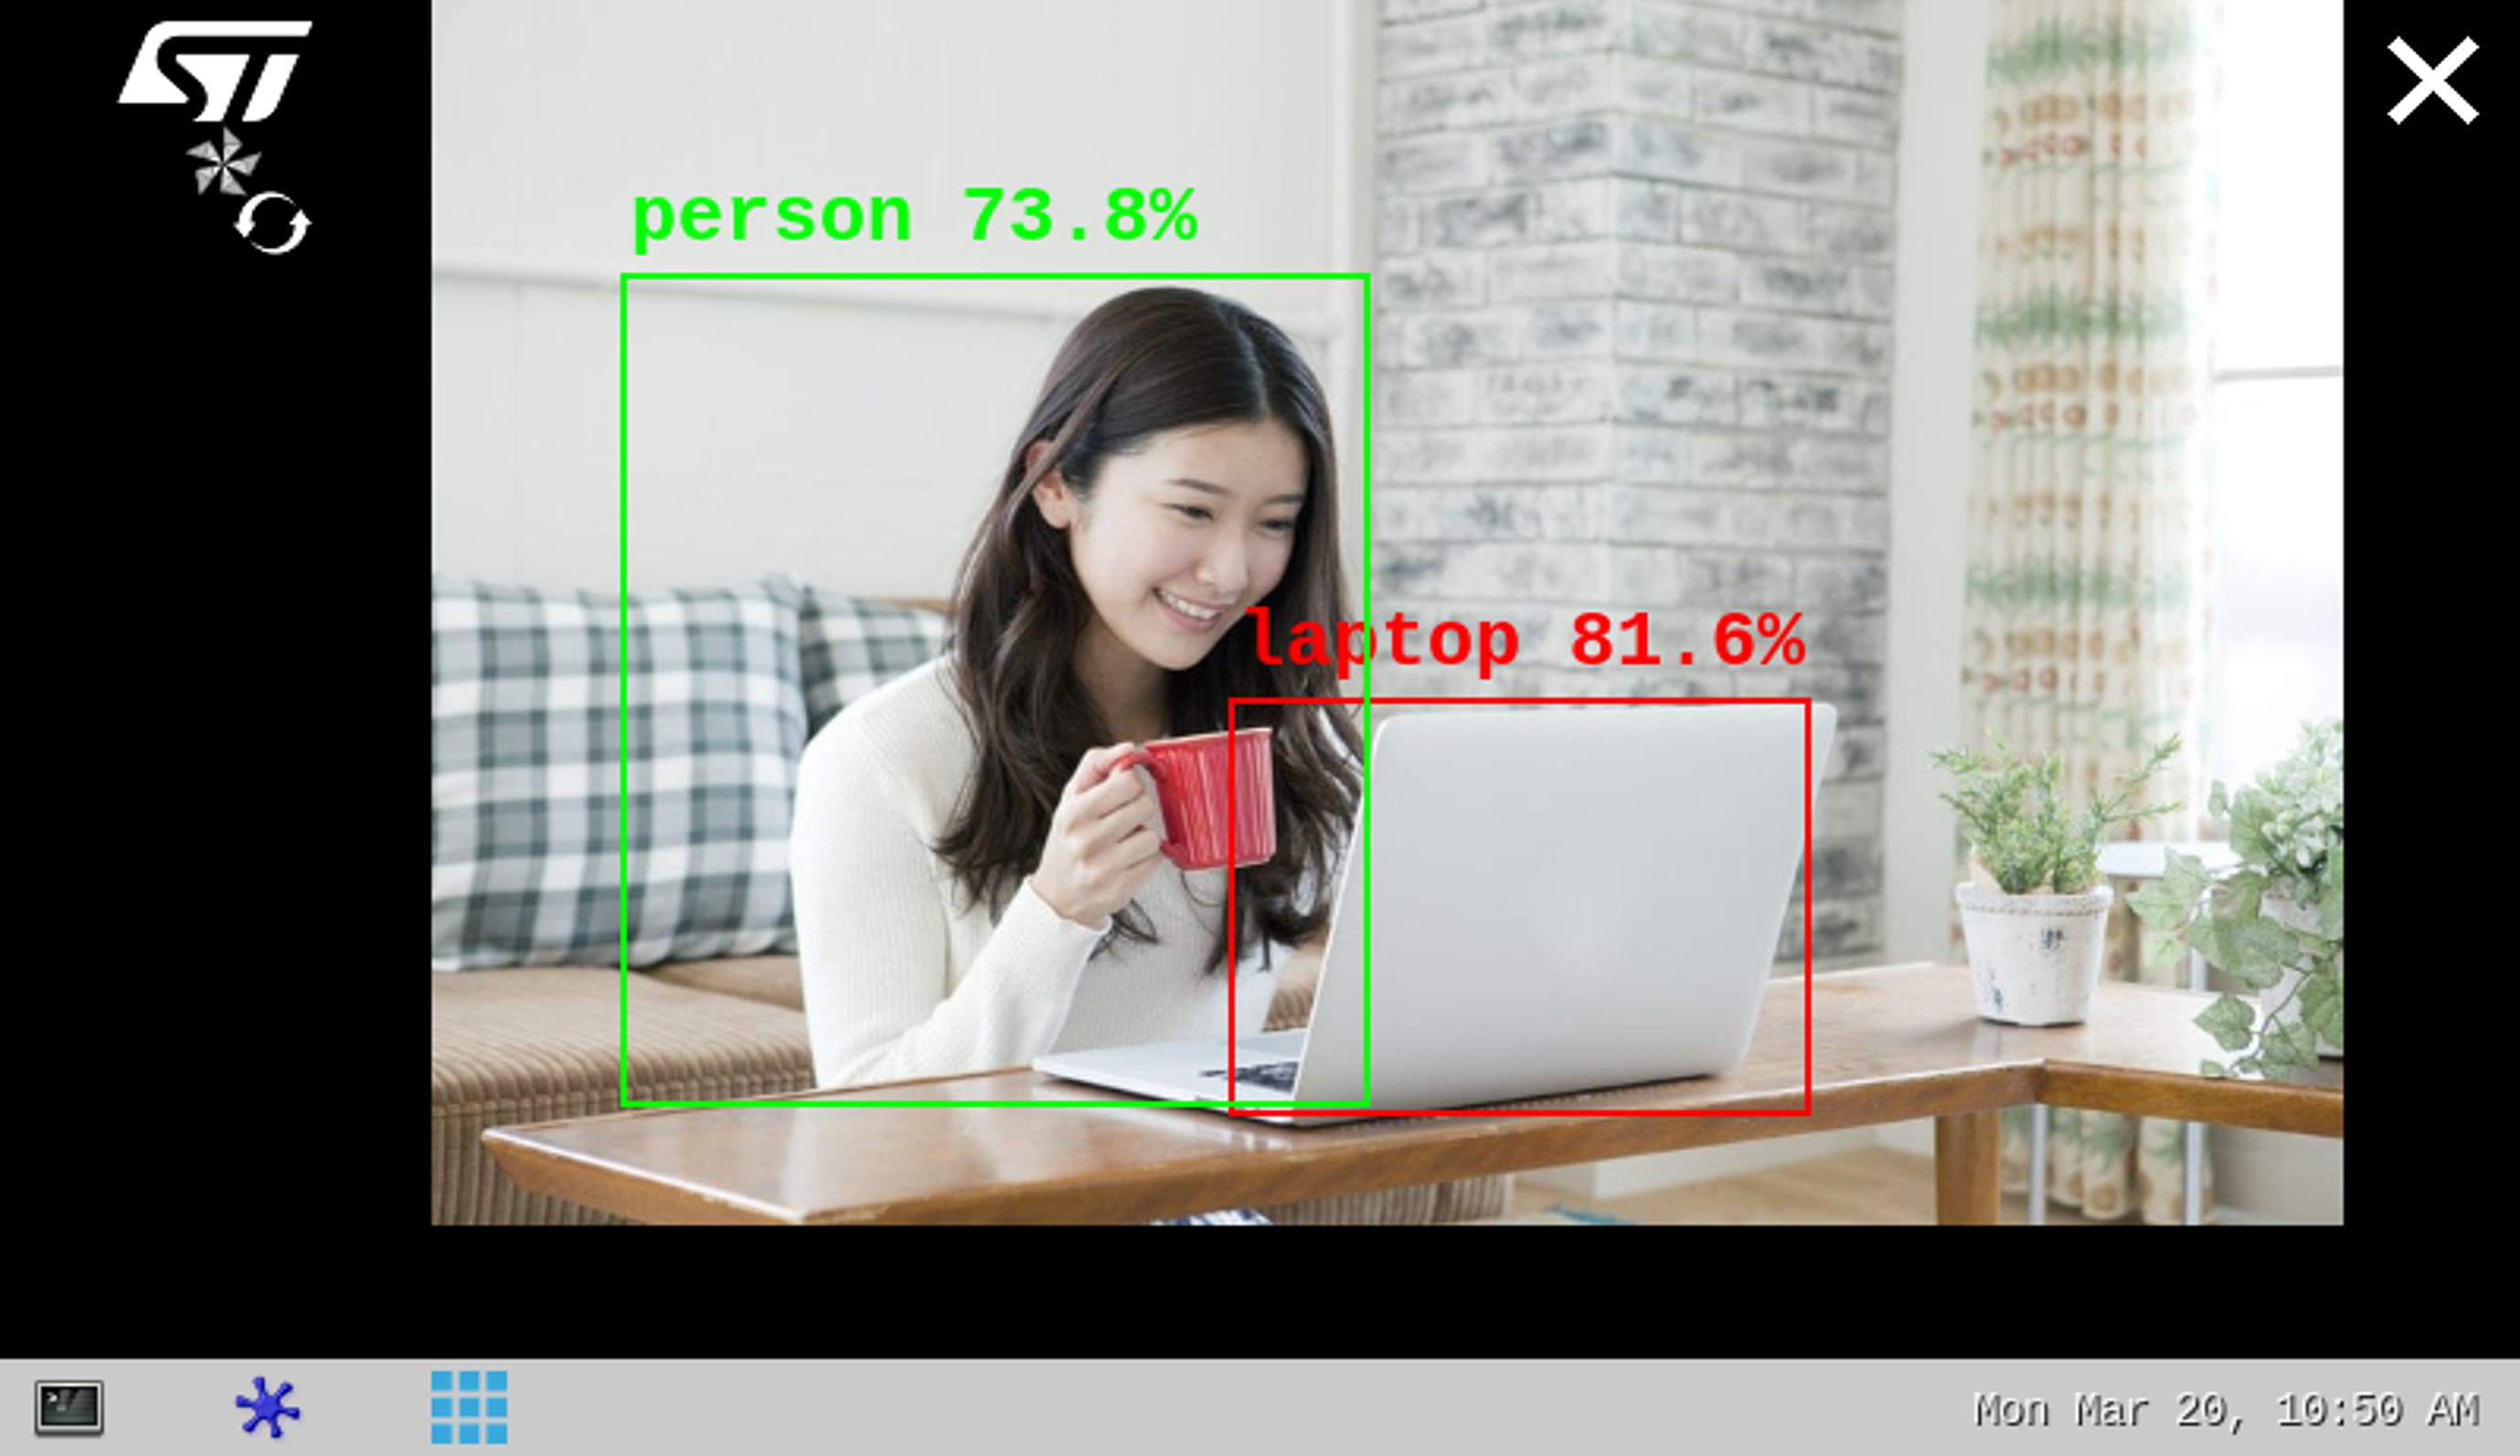
This article explains how to experiment with ONNX Runtime [1] applications for object detection based on the COCO SSD MobileNet v1 model using ONNX C++ API runtime.
1. Description[edit source]
The object detection[2] neural network model allows the identification and localization of a known object within an image.
The application demonstrates a computer vision use case for object detection, where the frames are grabbed from a camera input (/dev/videox) and analyzed by a neural network model interpreted by the ONNX Runtime [1] framework.
A Gstreamer pipeline streams the camera frames (using v4l2src), to display a preview (using waylandsink) and to execute a neural network inference (using appsink).
The inference result is displayed on the preview. The overlay is done using GtkWidget with cairo.
This combination is quite simple and efficient in terms of CPU overhead.
The performance depends on the number of CPUs available. The camera preview is limited to one CPU core while the ONNX Runtime[1] interpreter is configured to use the maximum of the available resources.
The model used with this application is the COCO SSD MobileNet v1 downloaded from TensorFlow™ For Mobile & Edge[2] and converted to the ONNX opset 16 format using tf2onnx.
2. Installation[edit source]
2.1. Install from the OpenSTLinux AI package repository[edit source]
After having configured the AI OpenSTLinux package, the user can install the X-LINUX-AI components for this application:
apt-get install onnx-cv-apps-object-detection-c++
Then, the user can restart the demo launcher:
- For an OpenSTLinux distribution with a version lower than 4.0, use:
systemctl restart weston@root
- For other OpenSTLinux distributions, use:
systemctl restart weston-launch
2.2. Source code location[edit source]
- in the Openembedded OpenSTLinux Distribution with the X-LINUX-AI Expansion Package:
- <Distribution Package installation directory>/layers/meta-st/meta-st-stm32mpu-ai/recipes-samples/onnx-cv-apps/files/object-detection/src
- on GitHub:
2.3. Regenerate the package from the OpenSTLinux Distribution (optional)[edit source]
Using the Openembedded OpenSTLinux Distribution, the user can rebuild the application.
- Set up the build environment:
 cd <Distribution Package installation directory>
 source layers/meta-st/scripts/envsetup.sh
- Rebuild the application:
bitbake onnx-cv-apps-object-detection-c++ -c compile
The generated binary is available here:
<Distribution Package installation directory>/<build directory>/tmp-glibc/work/cortexa7t2hf-neon-vfpv4-ostl-linux-gnueabi/onnx-cv-apps-object-detection-c++/3.0.0-r0/onnx-cv-apps-object-detection-c++-3.0.0/object-detection/src/
3. How to use the application[edit source]
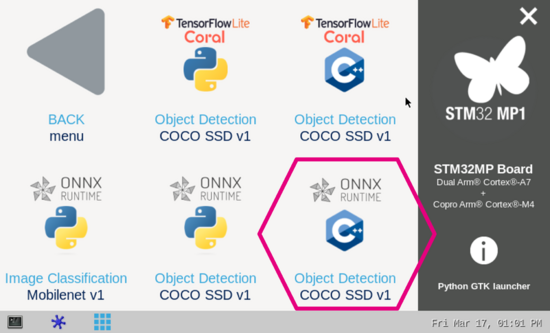
3.1. Launching via the demo launcher[edit source]
3.2. Executing with the command line[edit source]
The objdetect_onnx_gst_gtk C/C++ application is located in the userfs partition:
/usr/local/demo-ai/computer-vision/onnx-object-detection/bin/objdetect_onnx_gst_gtk
It accepts the following input parameters:
Usage: ./objdetect_onnx_gst_gtk -m <model .onnx> -l <label .txt file>

-m --model_file <.onnx file path>:  .onnx model to be executed
-l --label_file <label file path>:    name of file containing labels
-i --image <directory path>:          image directory with image to be classified
-v --video_device <n>:                video device (default /dev/video0)
--crop:                               if set, the nn input image is cropped (with the expected nn aspect ratio) before being resized,
                                      else the nn input image is only resized to the nn input size (could cause picture deformation).
--frame_width  <val>:                 width of the camera frame (default is 640)
--frame_height <val>:                 height of the camera frame (default is 480)
--framerate <val>:                    framerate of the camera (default is 15fps)
--input_mean <val>:                   model input mean (default is 127.5)
--input_std  <val>:                   model input standard deviation (default is 127.5)
--verbose:                            enable verbose mode
--validation:                         enable the validation mode
-t --threshold <val>:                 threshold of accuracy above which the boxes are displayed (default 0.62)
--help:                               show this help
3.3. Testing with COCO SSD MobileNet v1[edit source]
The model used for test is the detect.onnx downloaded from TensorFlow™ For Mobile & Edge[2] and converted to the ONNX format.
To launch the application more easily, two shell scripts are available:
- launch object detection based on camera frame inputs:
/usr/local/demo-ai/computer-vision/onnx-object-detection/bin/launch_bin_objdetect_onnx_coco_ssd_mobilenet.sh
- launch object detection based on the pictures located in /usr/local/demo-ai/computer-vision/models/coco_ssd_mobilenet/testdata directory:
/usr/local/demo-ai/computer-vision/onnx-object-detection/bin/launch_bin_objdetect_onnx_coco_ssd_mobilenet_testdata.sh
4. References[edit source]

