Template:ArticleMainWriter Template:ArticleProposedVersion
| Let's start | Develop on Arm® Cortex®-A7 | |||||||
| Unpack the board | Populate the target and boot the image | Execute basic commands | Use the demo launcher | |||||
1. Overview[edit source]
This stage will explain you how to get, install and boot the STM32MP15 Discovery kits with the Starter Package.
2. Install the tools[edit source]
2.1. STM32CubeProgrammer[edit source]
- Create your STM32MPU tools directory on your host computer
PC $> mkdir STM32MPU-Tools
PC $> cd STM32MPU-Tools
PC $> mkdir STM32CubeProgrammer-2.0.0
- Download the version 2.0.0 of STM32CubeProgrammer archive file in a temporary derectory of your host computer
- Uncompress the archive file to get the STM32CubeProgrammer installers
PC $> unzip SetupSTM32CubeProgrammer.zip
- Execute the Linux installer, which guides you through the installation process. Select "STM32MPU-Tools/STM32CubeProgrammer-2.0.0" as the installation directory, when it's requested by the installer
PC $> ./SetupSTM32CubeProgrammer-2.0.0.linux

Splash screen
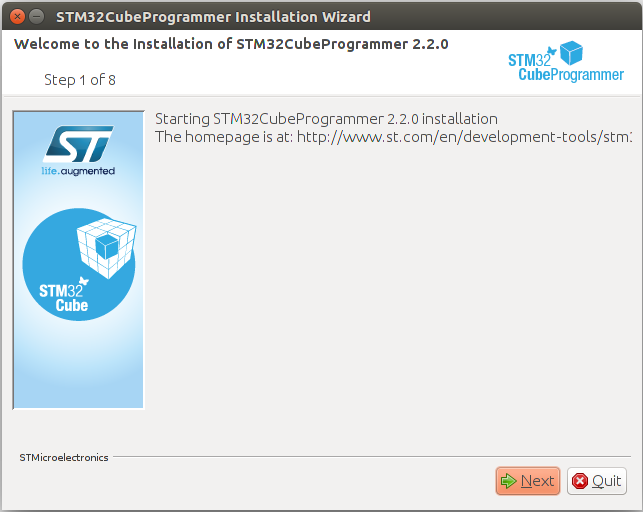
Welcome page
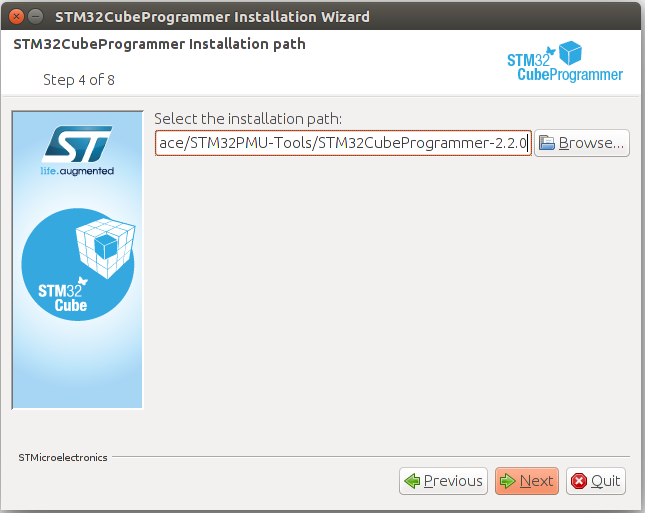
Installation path
2.2. USB serial link[edit source]
- Install the libusb on your host computer
sudo apt-get install libusb-1.0-0
- To allow STM32CubeProgrammer to access the USB port through low-level commands, proceed as follows
PC $> cd STM32MPU-Tools/STM32CubeProgrammer-2.0.0/Drivers/rules
PC $> sudo cp *.* /etc/udev/rules.d/
3. Download the image[edit source]
- Create your STM32MP15 Starter Package directory on your host computer
PC $> mkdir STM32MP15-Ecosystem-v1.0.0
PC $> cd STM32MP15-Ecosystem-v1.0.0
PC $> mkdir Starter-Package
PC $> cd Starter-Package
- Download the STM32MP15-Ecosystem-v1.0.0 Starter Package in the Starter-Package directory previously created
- Uncompress the tarball file to get the binaries for the different partitions of the image, and the Flash layout files
PC $> tar xvf FLASH-stm32mp1-boards-revc-openstlinux-4.14-rocko-mp1-18-11-26.tar.xz
4. Populate the SDCard[edit source]
5. Boot the board[edit source]